Email templates documentation
In this guide we will cover on tips and tricks for working with email templates and how to implement Pardot features. For this guide we will be using react-email, as it provides a clean and easy way to develop email templates and ensure compatibility as much as possible.
Email templating basics, do’s and don’ts
Section titled “Email templating basics, do’s and don’ts”- Use tables to build the layout for maximum compatibility, older clients might not support other layout elements or not behave as we expect them to.
- Do not use
svgin emails, useimgtags instead and image formats should bejpgorpng. - If using
background-imagein styles, usebackground-coloras a fallback if needed. - Do not use
margin, as some clients do not support it due to templates being built around tables. Usepaddinginstead. Another workaround is to not use vertical paddings and include empty rows with a fixed height instead.
For any other considerations, check https://www.caniemail.com/ to check if the feature is supported in the clients we are targeting.
Developing email templates
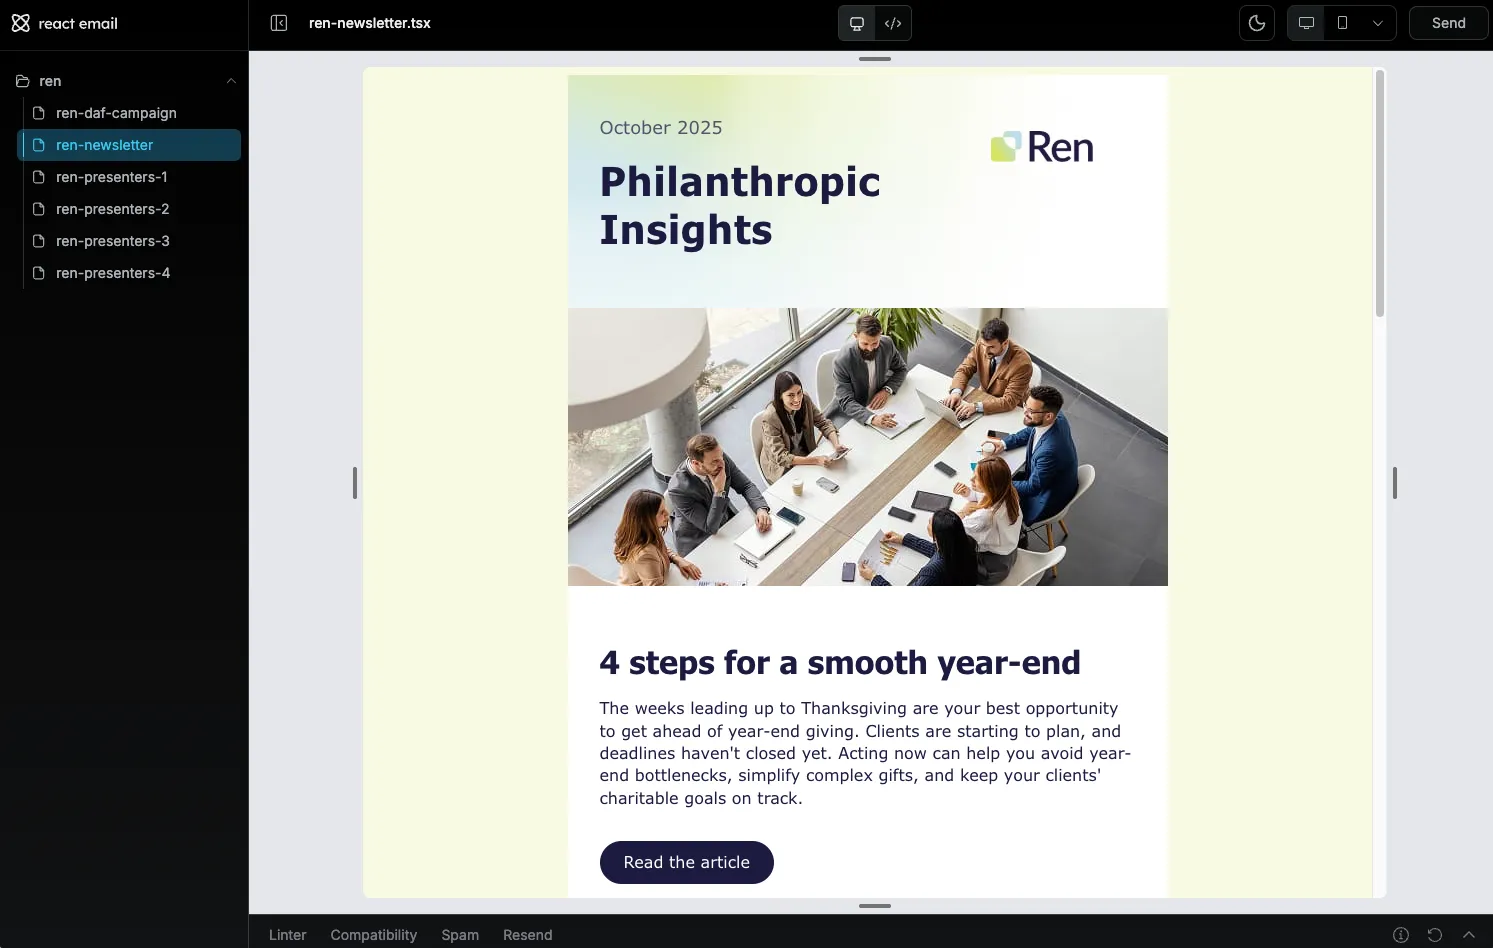
Section titled “Developing email templates”React Email is a library/framework for building email templates. It provides a component library and a way to render the templates in a browser.
First, we clone this repository containing the “builder” with the templates.
git clone https://github.com/terra-hq/email-template-editor.gitWe install the dependencies:
npm installWe start the development server:
npm run devThis will start the development server and we can preview the templates in the browser.
Development
Section titled “Development”For the development of templates using react-email, we don’t really need to know React, this uses React under the hood but the development is pretty much like HTML, using tags, just following the documentation to know which Components to use for the layouts is more than enough. https://react.email/docs/introduction
React Email provides a set of components to make developing templates easier. After the development is done, React Email automatically converts the layouts to tables and tries to enture compatibility as much as possible. For example, if we use some css properties that are not supported by the clients we are targeting, React Email will automatically include the necessary fallbacks if it can by adding the <!--[if !mso]><!-- and <![endif]--> comments and adding the code.
The core of the development of the templates is mostly done using the components <Body>, <Section>, <Row>, <Column>, <Heading>, <Text>, <Button>,… These components are used to build the layout of the email and the content of the email.
React Email will automatically build the tables, td, tr,… for us.
Styles
Section titled “Styles”Styles can be applied either inline or as classes inside the <style> tag.
Examples:
<Heading style={{ fontSize: '32px', color: '#1C1A40', padding: '0', fontFamily: 'Tahoma, sans-serif', fontWeight: 'bold', lineHeight: 'normal', display: 'block', margin: '0',}}>Title</Heading><Heading className="heading_class_name">Heading</Heading>We can use the Tailwind component to wrap the <Html> component and apply Tailwind CSS styles to the components if we choose to do so as well. https://react.email/docs/tailwind
Example:
<Tailwind> <Html> <Body> <Heading className="text-3xl font-bold text-red-500">Heading</Heading> </Body> </Html></Tailwind>Extracting the rendered HTML
Section titled “Extracting the rendered HTML”The React Email development server will not only preview the template in the browser, but it will also give us the ability to copy the rendered HTML. We can click on the copy button and paste it on our .html file or Pardot template editor.
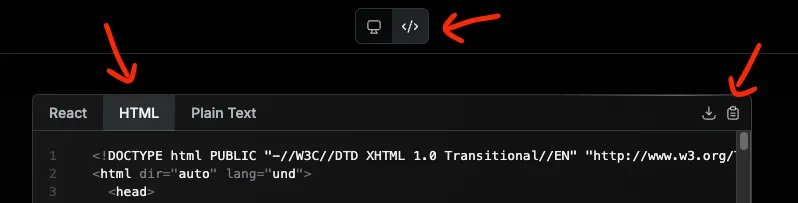
Additionally, and might be easier, by running the npm run export command, we can export the rendered HTML to a .html file inside the out directory. This file can be used to preview the template in a browser or to import it into Pardot.
npm run exportPardot features
Section titled “Pardot features”Pardot is a marketing automation platform that allows us to create and manage email campaigns. Some clients might use Pardot in Salesforce for their email campaigns.
Pardot has a visual template editor to allow interactive editing of the email templates. When developing the templates, we can use certain tags in the HTML elements to inform the editable regions and how they should behave.
Pardot template editor
Section titled “Pardot template editor”In the Pardot template editor, we have the following interface with the sections of Building, Testing, Sending,…etc.
The important bits are Building and Testing.

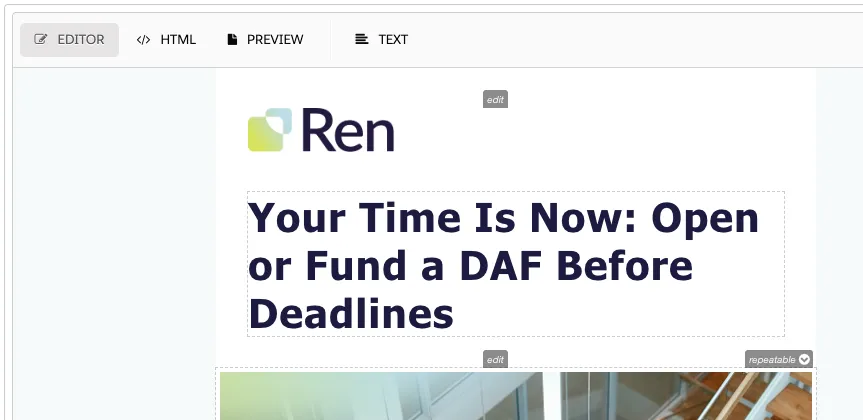
Pardot building view
Section titled “Pardot building view”Inside Building, we have the editor view, where we can edit the template visually, the HTML view, where we can paste and edit the HTML directly, and the TEXT view, where we can edit the only-text content of the template.
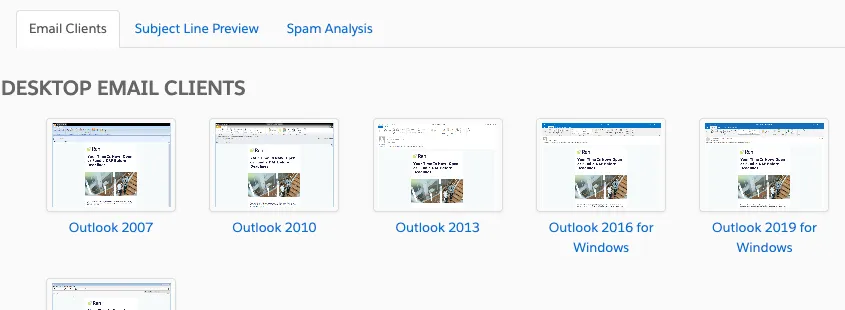
Pardot render testing
Section titled “Pardot render testing”Pardot provices a way to test the email templates on a variety of clients and devices (it uses Litmus under the hood). To use it, while editing a template we click in the TESTING button in the top navigation bar. There, in the bottom part we will see a New Render button.
It can take a while, sometimes just a minute, others more than 10 minutes. Just leave it running and check back later by reloading the page.
In TESTING, we can run the test render and see the result in a variety of clients and devices.

Clicking on the link on each test will open a modal with the results.
pardot-region and pardot-region-type attributes
Section titled “pardot-region and pardot-region-type attributes”The pardot-region attribute is used to define the region of the email that will be replaced with the content of the campaign, we can give it any name we want.
The pardot-region-type attribute is used to define the type of the region, it can be any of the following:
pardot(wysiwyg editor)imagelinksimplehtmltext
Examples:
<Heading pardot-region="main_article_title" pardot-region-type="text">Heading</Heading><Text pardot-region="main_article_text" pardot-region-type="text">Text</Text><Img pardot-region="main_article_image" pardot-region-type="image" src="#" alt="Main article image" /><Text pardot-region="main_article_text" pardot-region-type="pardot">Text</Text><Button pardot-region="main_article_button" pardot-region-type="link">Button</Button>pardot-repeatable attribute
Section titled “pardot-repeatable attribute”The pardot-repeatable attribute is used to define if the region is repeatable. This will show a small button-tooltip in the visual editor that allows for duplicating, removing, or moving up and down the region.
Examples:
<Section pardot-repeatable="section_main_article"></Section>