ClickUp with Harvest
Follow this process to connect ClickUp with Harvest so that time tracking and reporting are consistent across the team.
Steps to Connect ClickUp with Harvest
Section titled “Steps to Connect ClickUp with Harvest”1. Enable Harvest in ClickUp
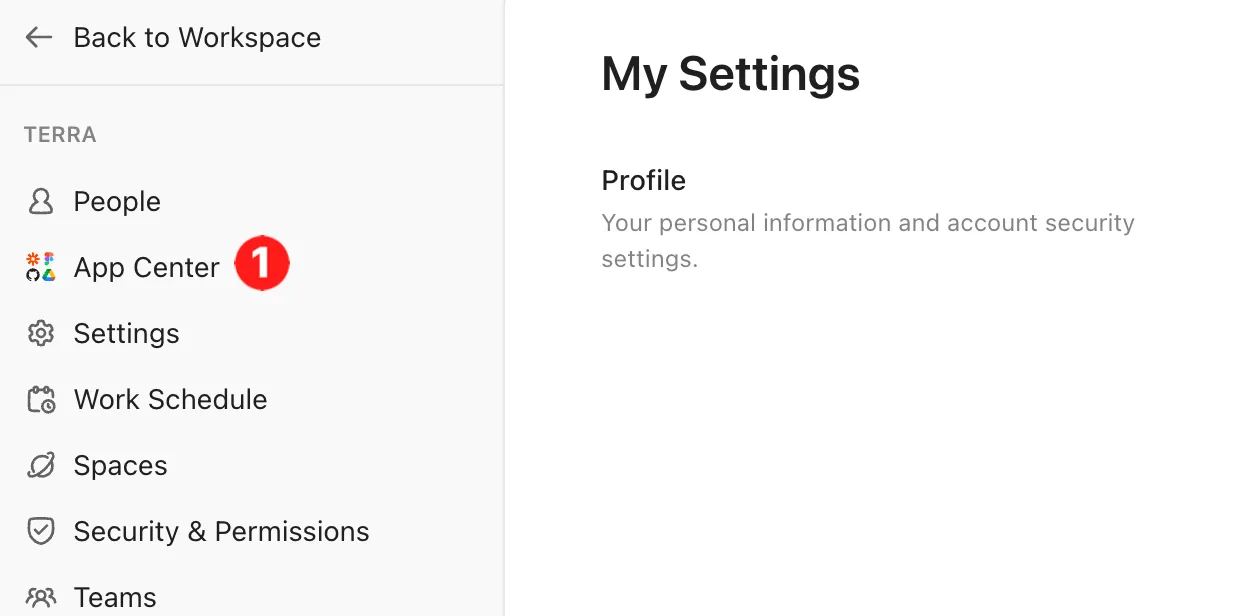
Section titled “1. Enable Harvest in ClickUp”- Go to ClickUp Settings → App Center.
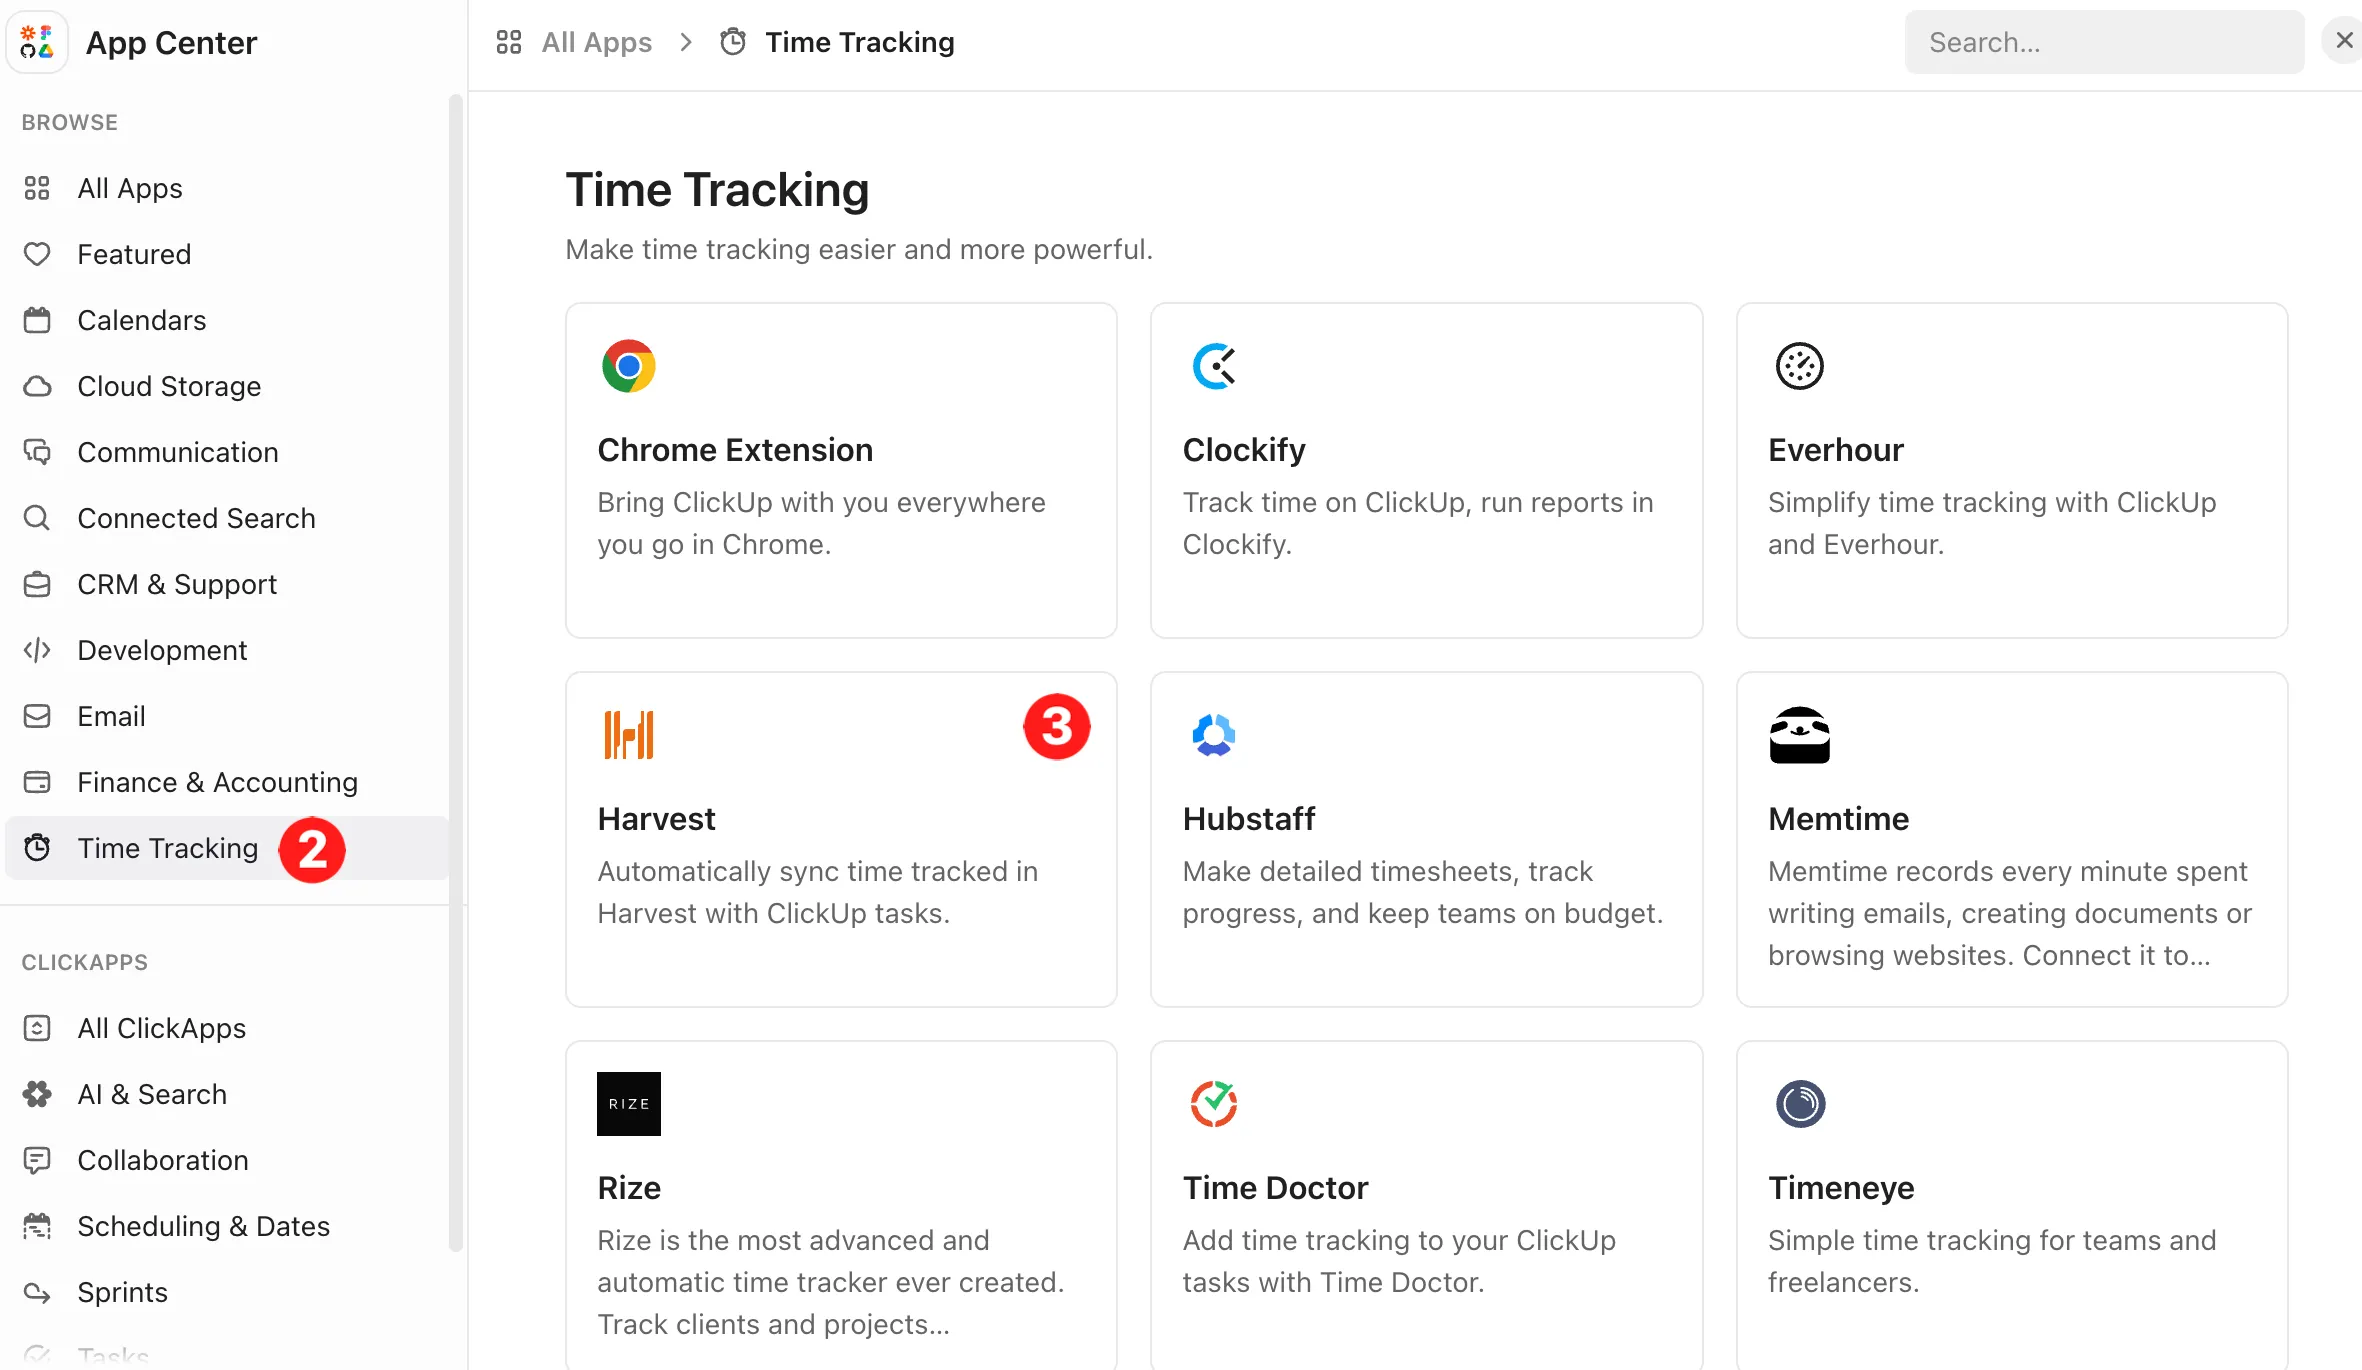
- Search for Harvest under the Time Tracking category.
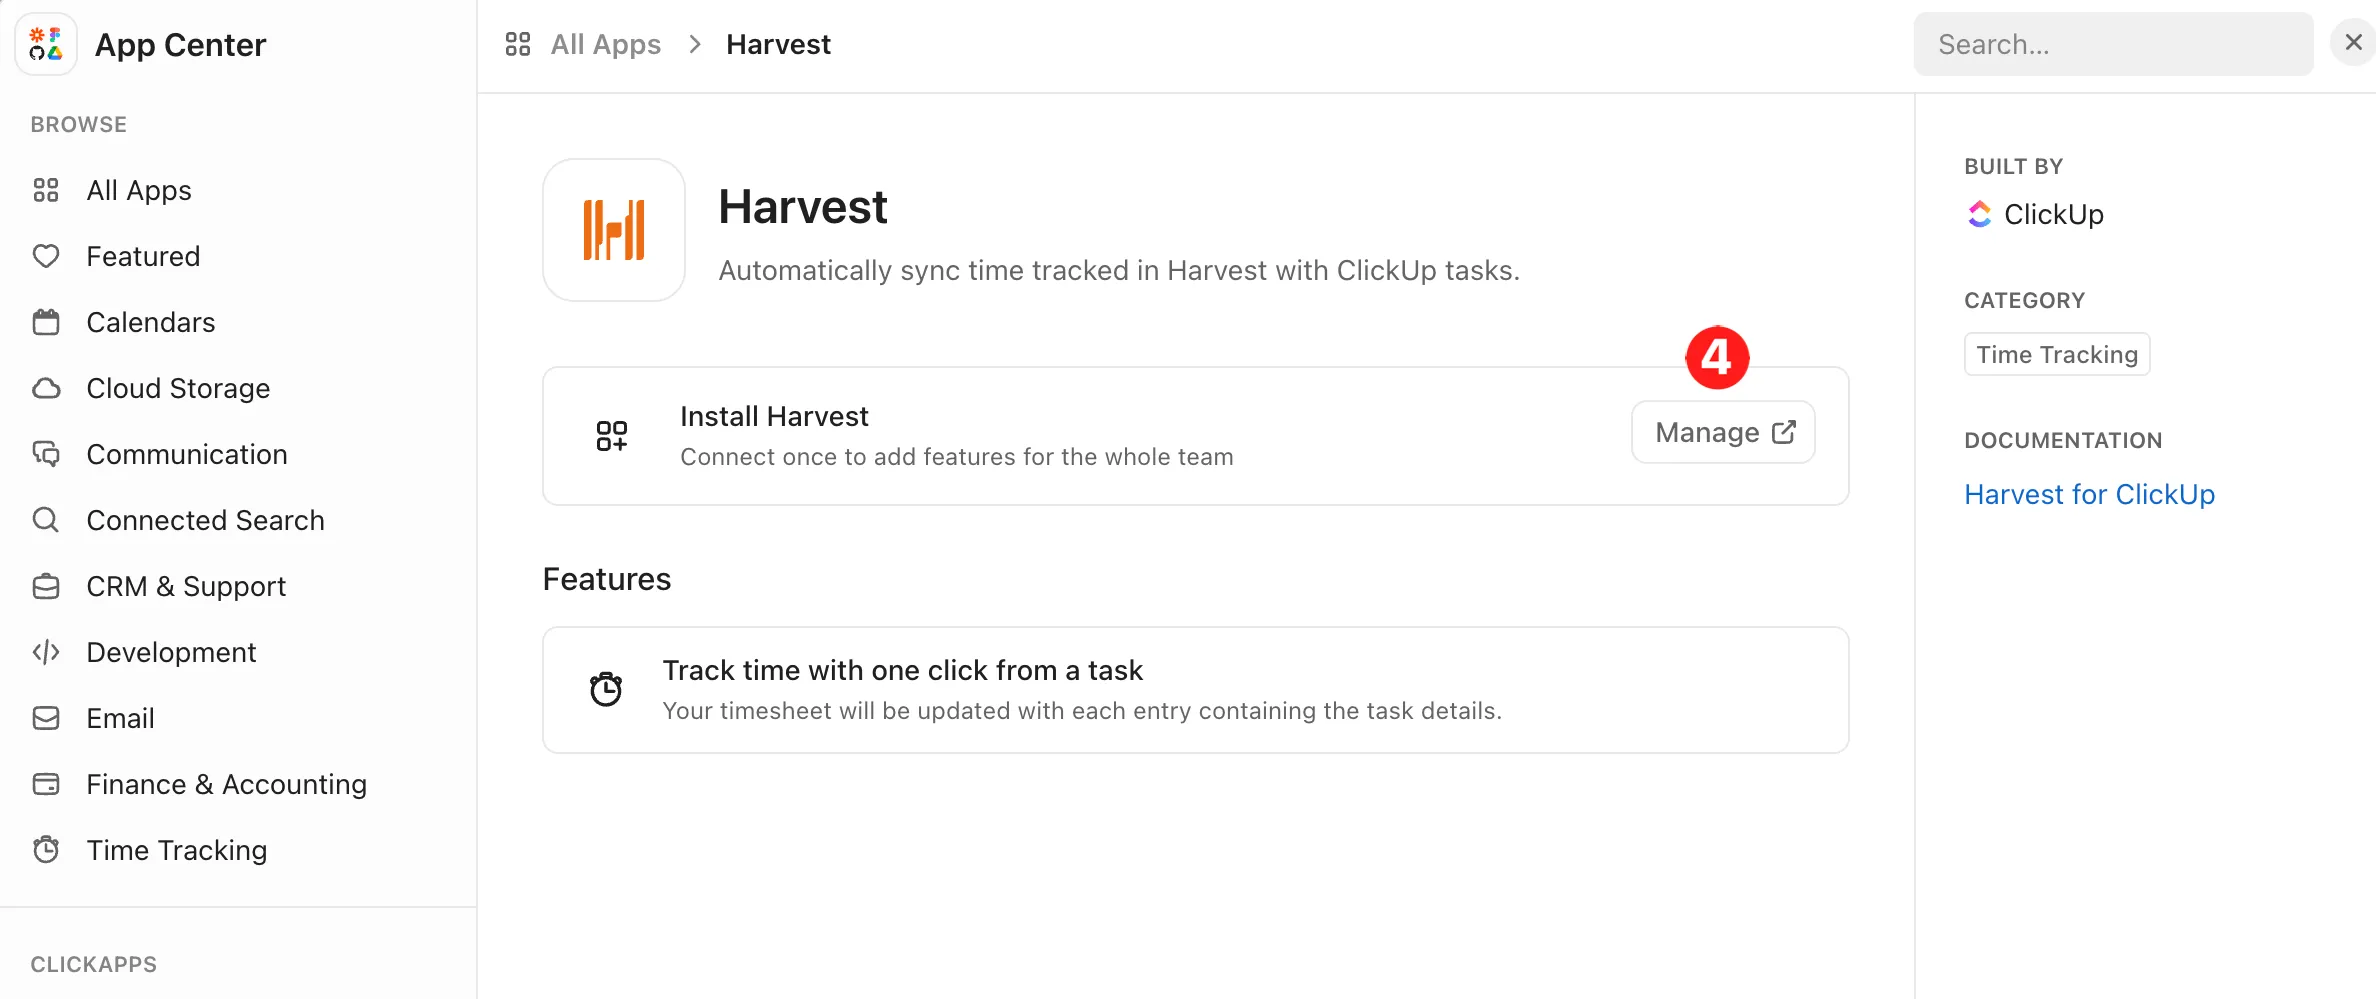
- Click Manage.
2. Authorize Harvest
Section titled “2. Authorize Harvest”- A window will open asking you to log into your Harvest account.
- Allow ClickUp to access your Harvest workspace.
3. Add the Harvest Timer to Tasks
Section titled “3. Add the Harvest Timer to Tasks”-
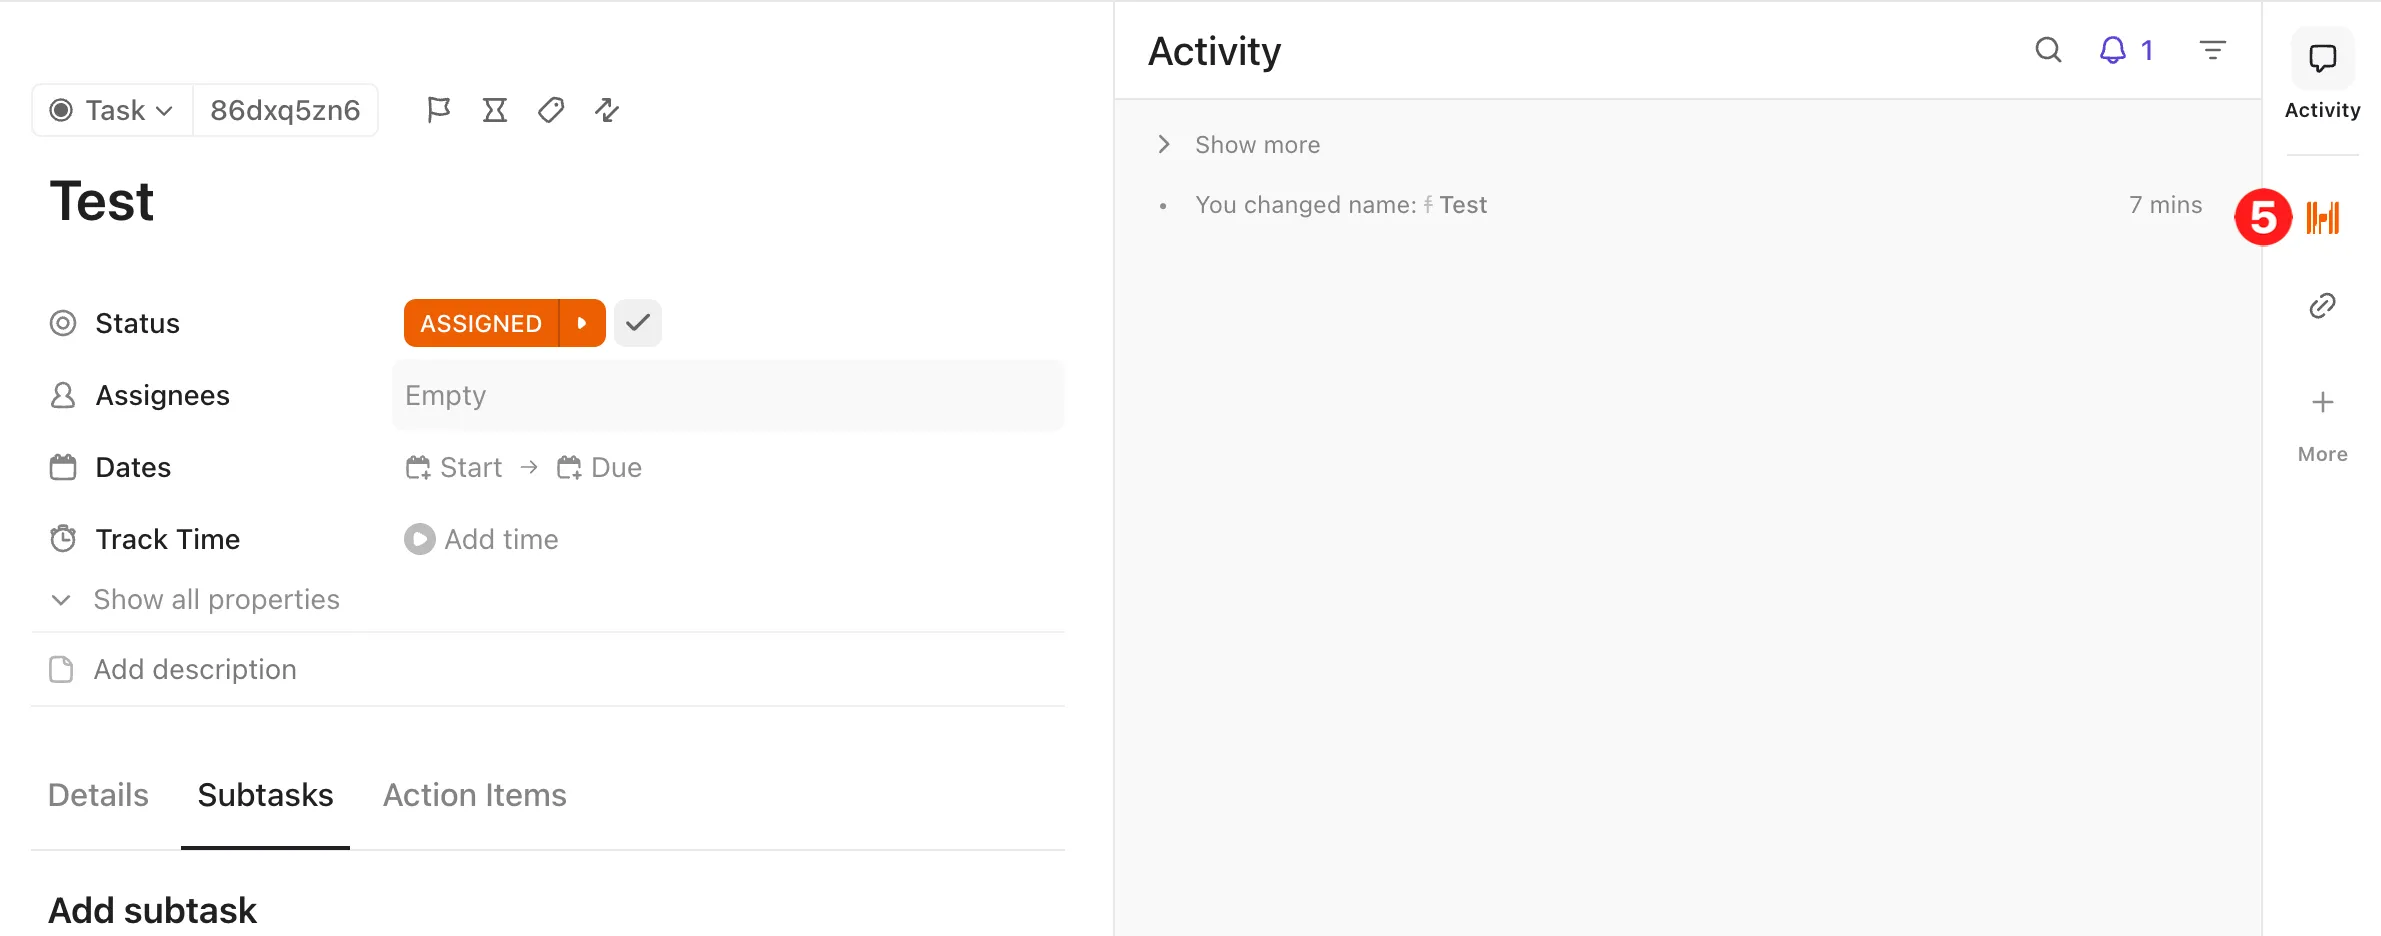
Open any task in ClickUp.
-
In the task view, you’ll see the Harvest icon (a small timer).
-
Click it → choose the Harvest project and task type you want to track time under.
4. Start and Stop Time Tracking
Section titled “4. Start and Stop Time Tracking”- Click Start Timer to begin tracking.
- Work on the task as usual.
- When done, return to the ClickUp task and click Stop Timer.
- The time will be logged directly into Harvest, under the selected project/task.
5. Review Time in Harvest
Section titled “5. Review Time in Harvest”- Go to Harvest → Timesheets.
- You’ll see all time entries synced from ClickUp tasks.
- From here, you can generate reports, invoices, or review logged hours.
6. Best Practices
Section titled “6. Best Practices”- Always select the correct Harvest project before starting the timer.
- Stop the timer at the end of each working session to avoid overcounting.
- Use ClickUp’s task comments to clarify what was done during tracked time.